
Basic Equipment for Traditional/Rebel Canning
Stock photo
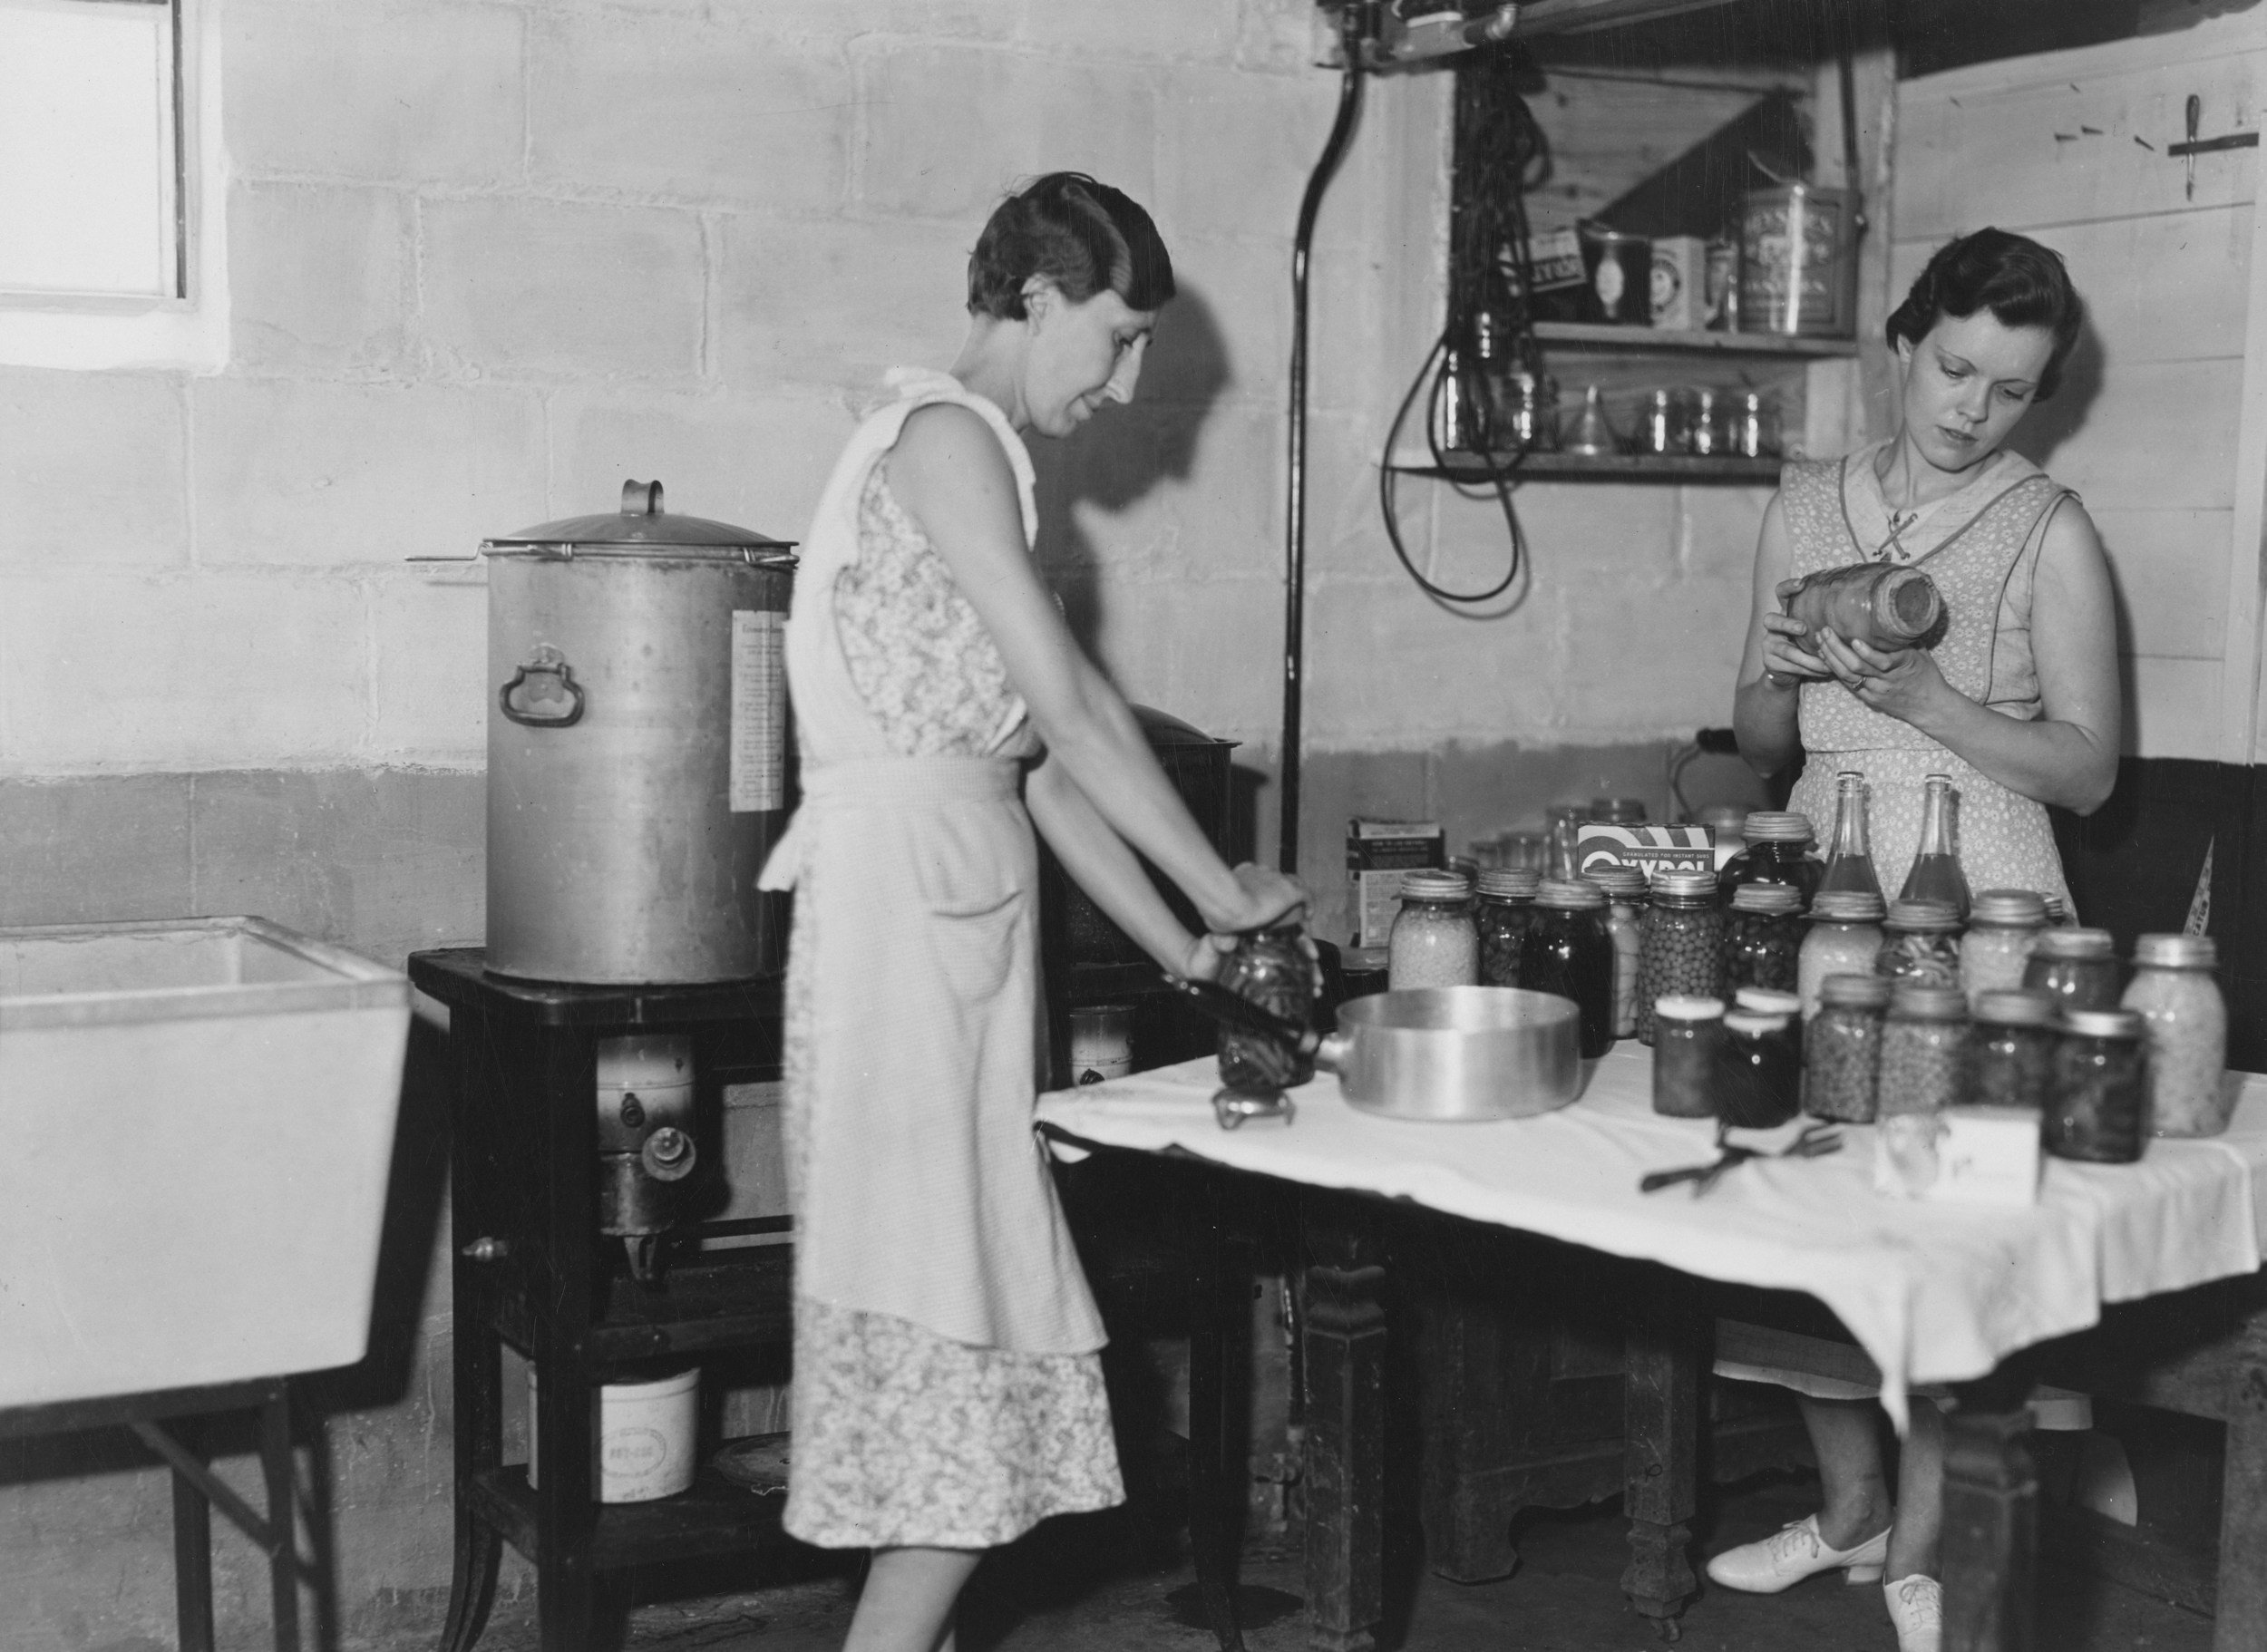
Rebel (or traditional) canning requires minimal equipment to preserve your favorite foods.
What all do you need to get started with basic water bath canning?
Jars. Glass Mason type jars, found in your local Walmart, ACE Hardware, Tractor Supply, and other stores with a Home section. Ball, Kerr, Weck, etc are major brands to look for. You can also use jars that you’ve already used that had products such as salsa, pickles, spaghetti sauces, etc in. These commercial jars have a single piece lid vs the Mason types that use a 2 piece lid.
Lids. These consist of flats that cover the opening of the jar and have sticky residue around the outside edges to seal the jar, and rings that hold the flats in place as the jar processes in the water. These come in regular mouth and wide mouth sizes. There are other types of lids, such as Tattler and lug, but the 2 piece is the most popular. Lug lids are found on commercial jars that you find on store shelves with food products mentioned above.
A pot to hold water. This can be as small as a soup pot to cover small jars with water, or as large as an Amish canner that holds 15 quarts or 30 pints. It simply has to be able to hold the jar(s) and 2 inches of water over the top. A lid is a good idea as well to hold heat in and keep a consistent boil. My personal water bath canner is a galvanized pot that hold 7 quarts or approximately 10 pints and 14-18 half pints. You can use a galvanized bucket as some do on outside camp stoves to keep the heat outside the kitchen in summer months. Your options are endless!
Something to put in the bottom of the pot. A canning rack, or even dish towels, work well. The jars should not touch the bottom of the pot, but instead have that buffer to keep direct heat off of them.
A jar lifter. You really don’t want to stick your hands in boiling water to grab jars. Not recommended. Zero stars.
A table or flat surface with towel to put hot jars on post bath.
Food to put in the jars (no kidding, right?)
A wet cloth to wipe jar mouths so nothing gets between glass and seal.
Vinegar or Cream of Tarter to put in the water bath to keep hard water from clouding the outside of the jars.
There really isn’t that much needed for the basic canning expedition. Most of this you will already have around your home. Ok, maybe not a jar lifter. Or a big galvanized tub. But you probably already have most of the items already, enough to get started with a small round to get yourself on the journey to canning independence.
You can find many canning items new in stores, or on places like Marketplace, thrift stores, yard sales, etc. There’s lots of places to look, and you can keep the costs minimal. As I mentioned in the introduction post, my items were handed down from my inlaws. My expense was in jars. I’ve accumulated many lids and flats to use and reuse as we go through the stash of food and use the jars again and again.
If you have favorite places you find your supplies, feel free to share in the comments!