
Water Bath Canning 101: How To Do Your First Jars
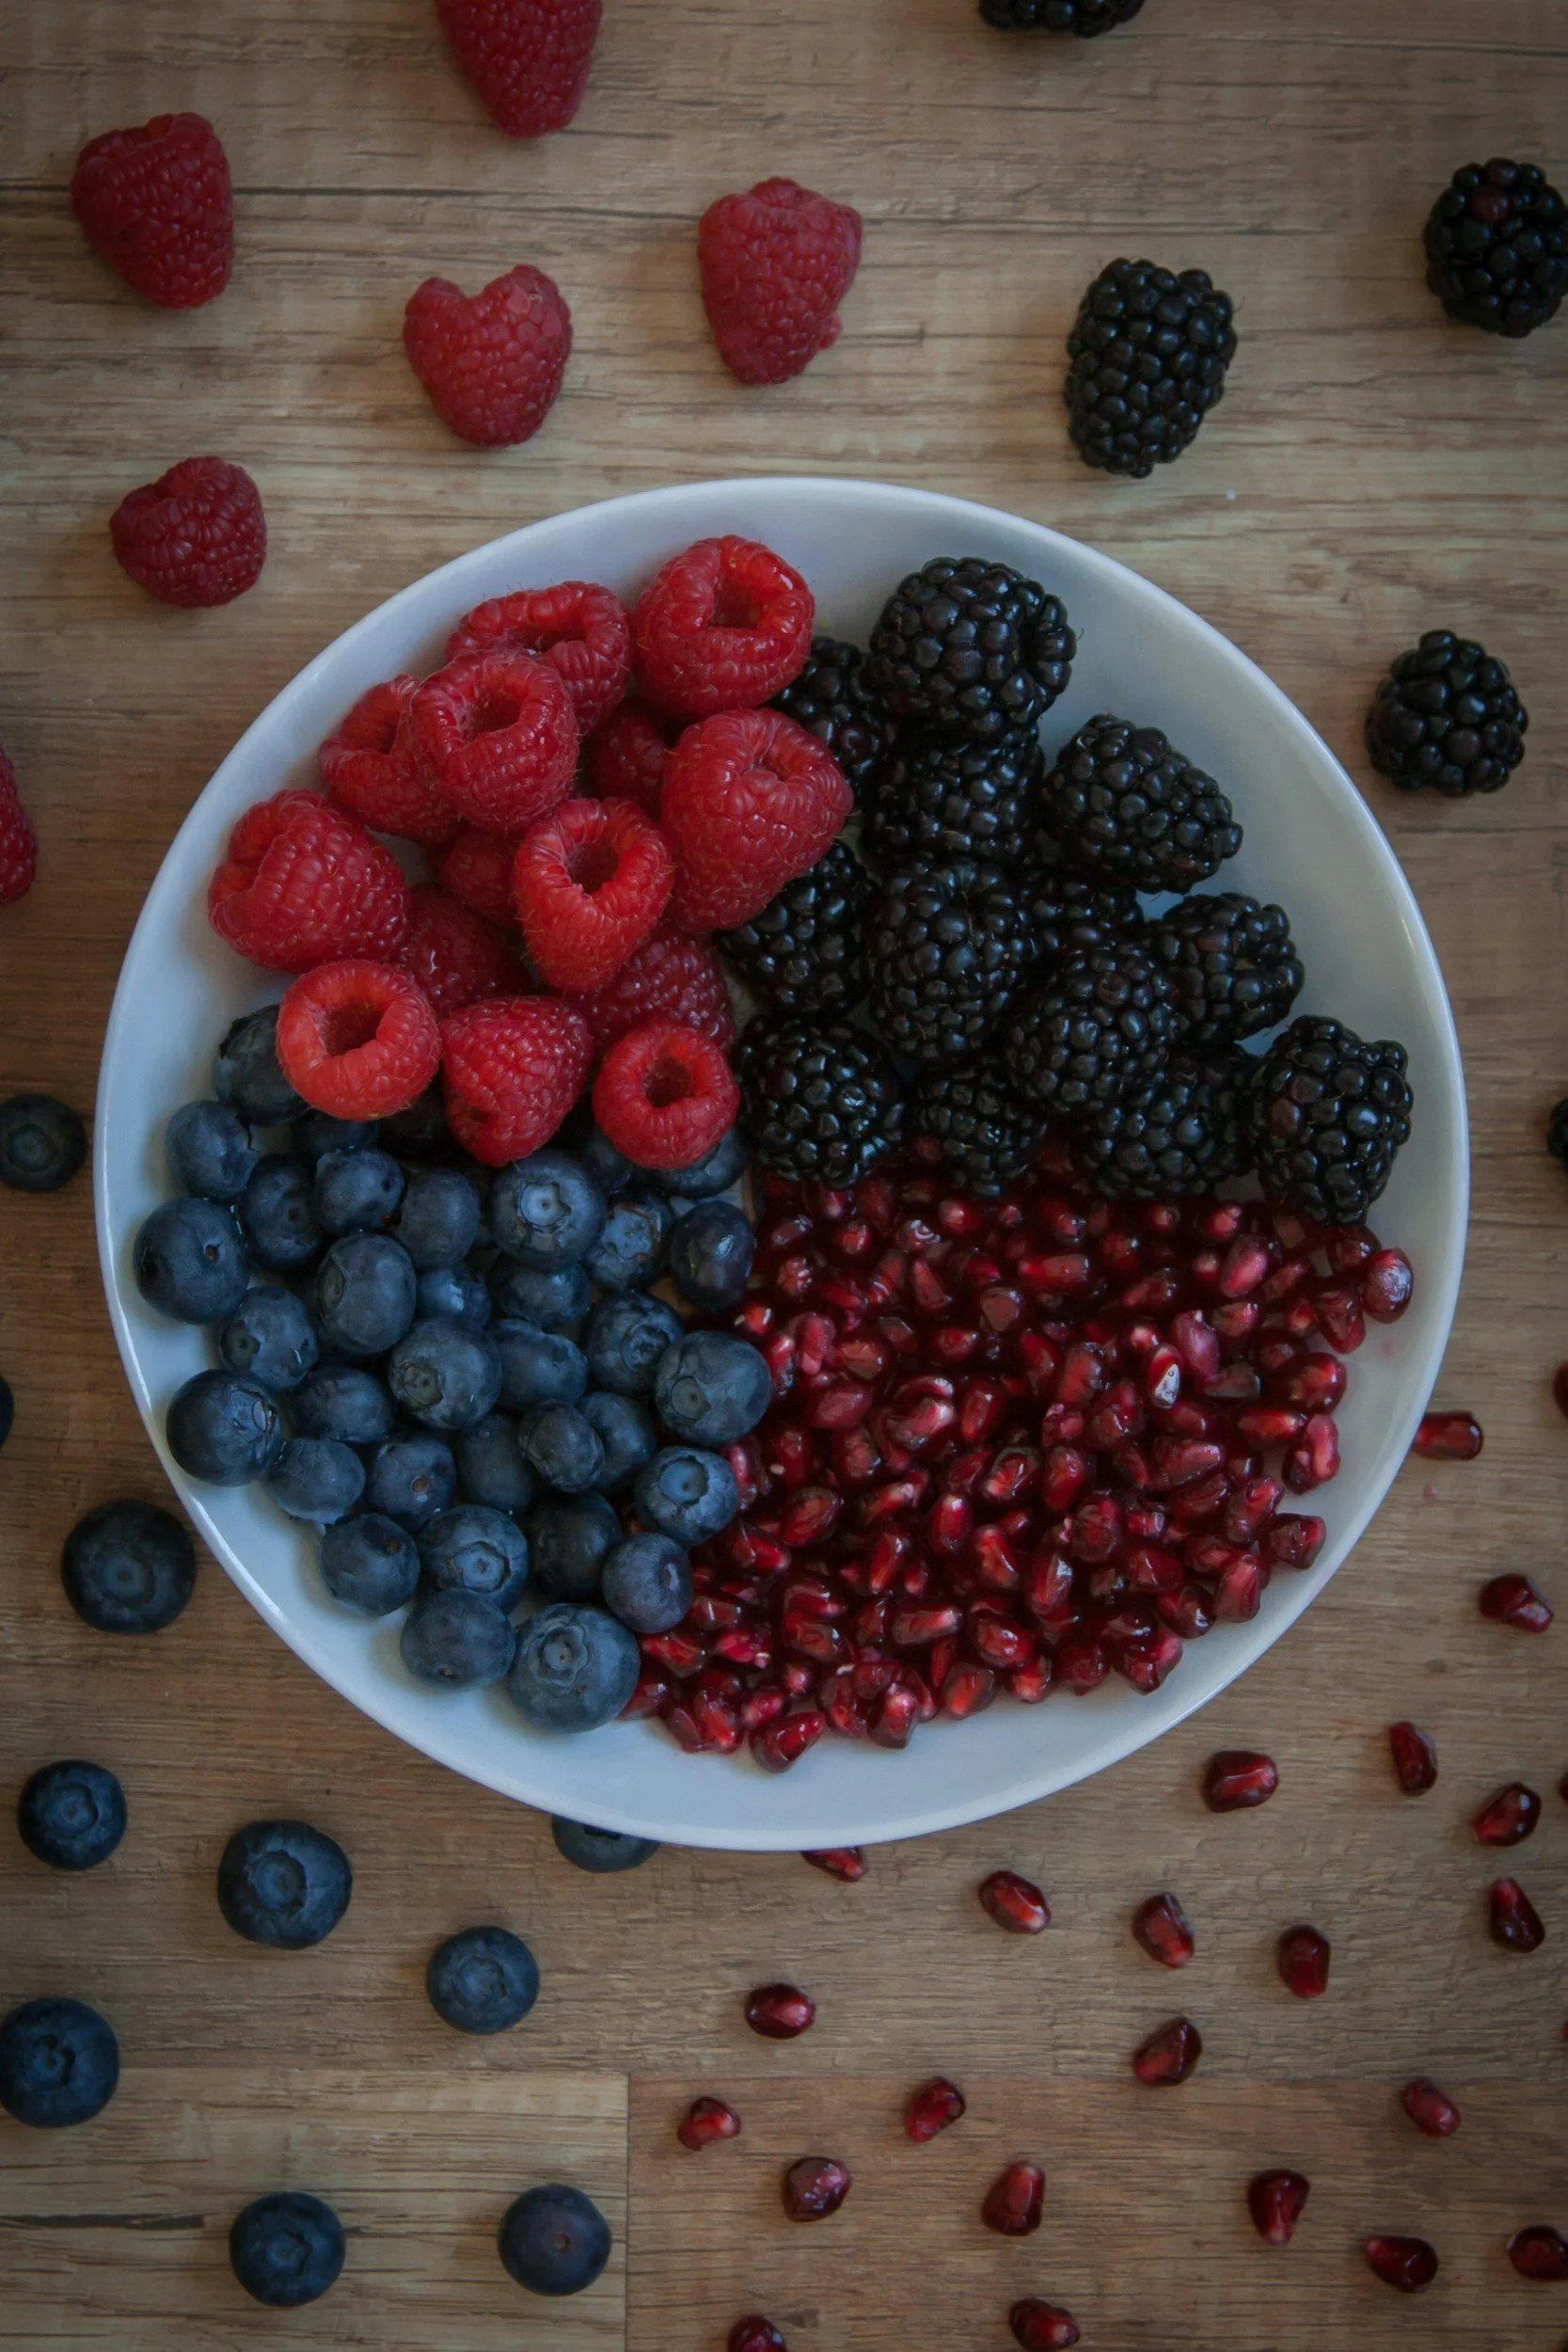
Berries
How do you water bath your first jars? You wouldn’t believe just how simple it really is! We tend to complicate tasks, and I’m no different. I used to think canning was super complicated and I’d never get it. It’s too hard. I was wrong, and I’m not afraid to admit it.
Water bath canning is the easiest canning to do, in my opinion. In a previous post we discussed the basic items needed for water bath canning. Once you have your supplies together, you’re ready to preserve your first jar of food.
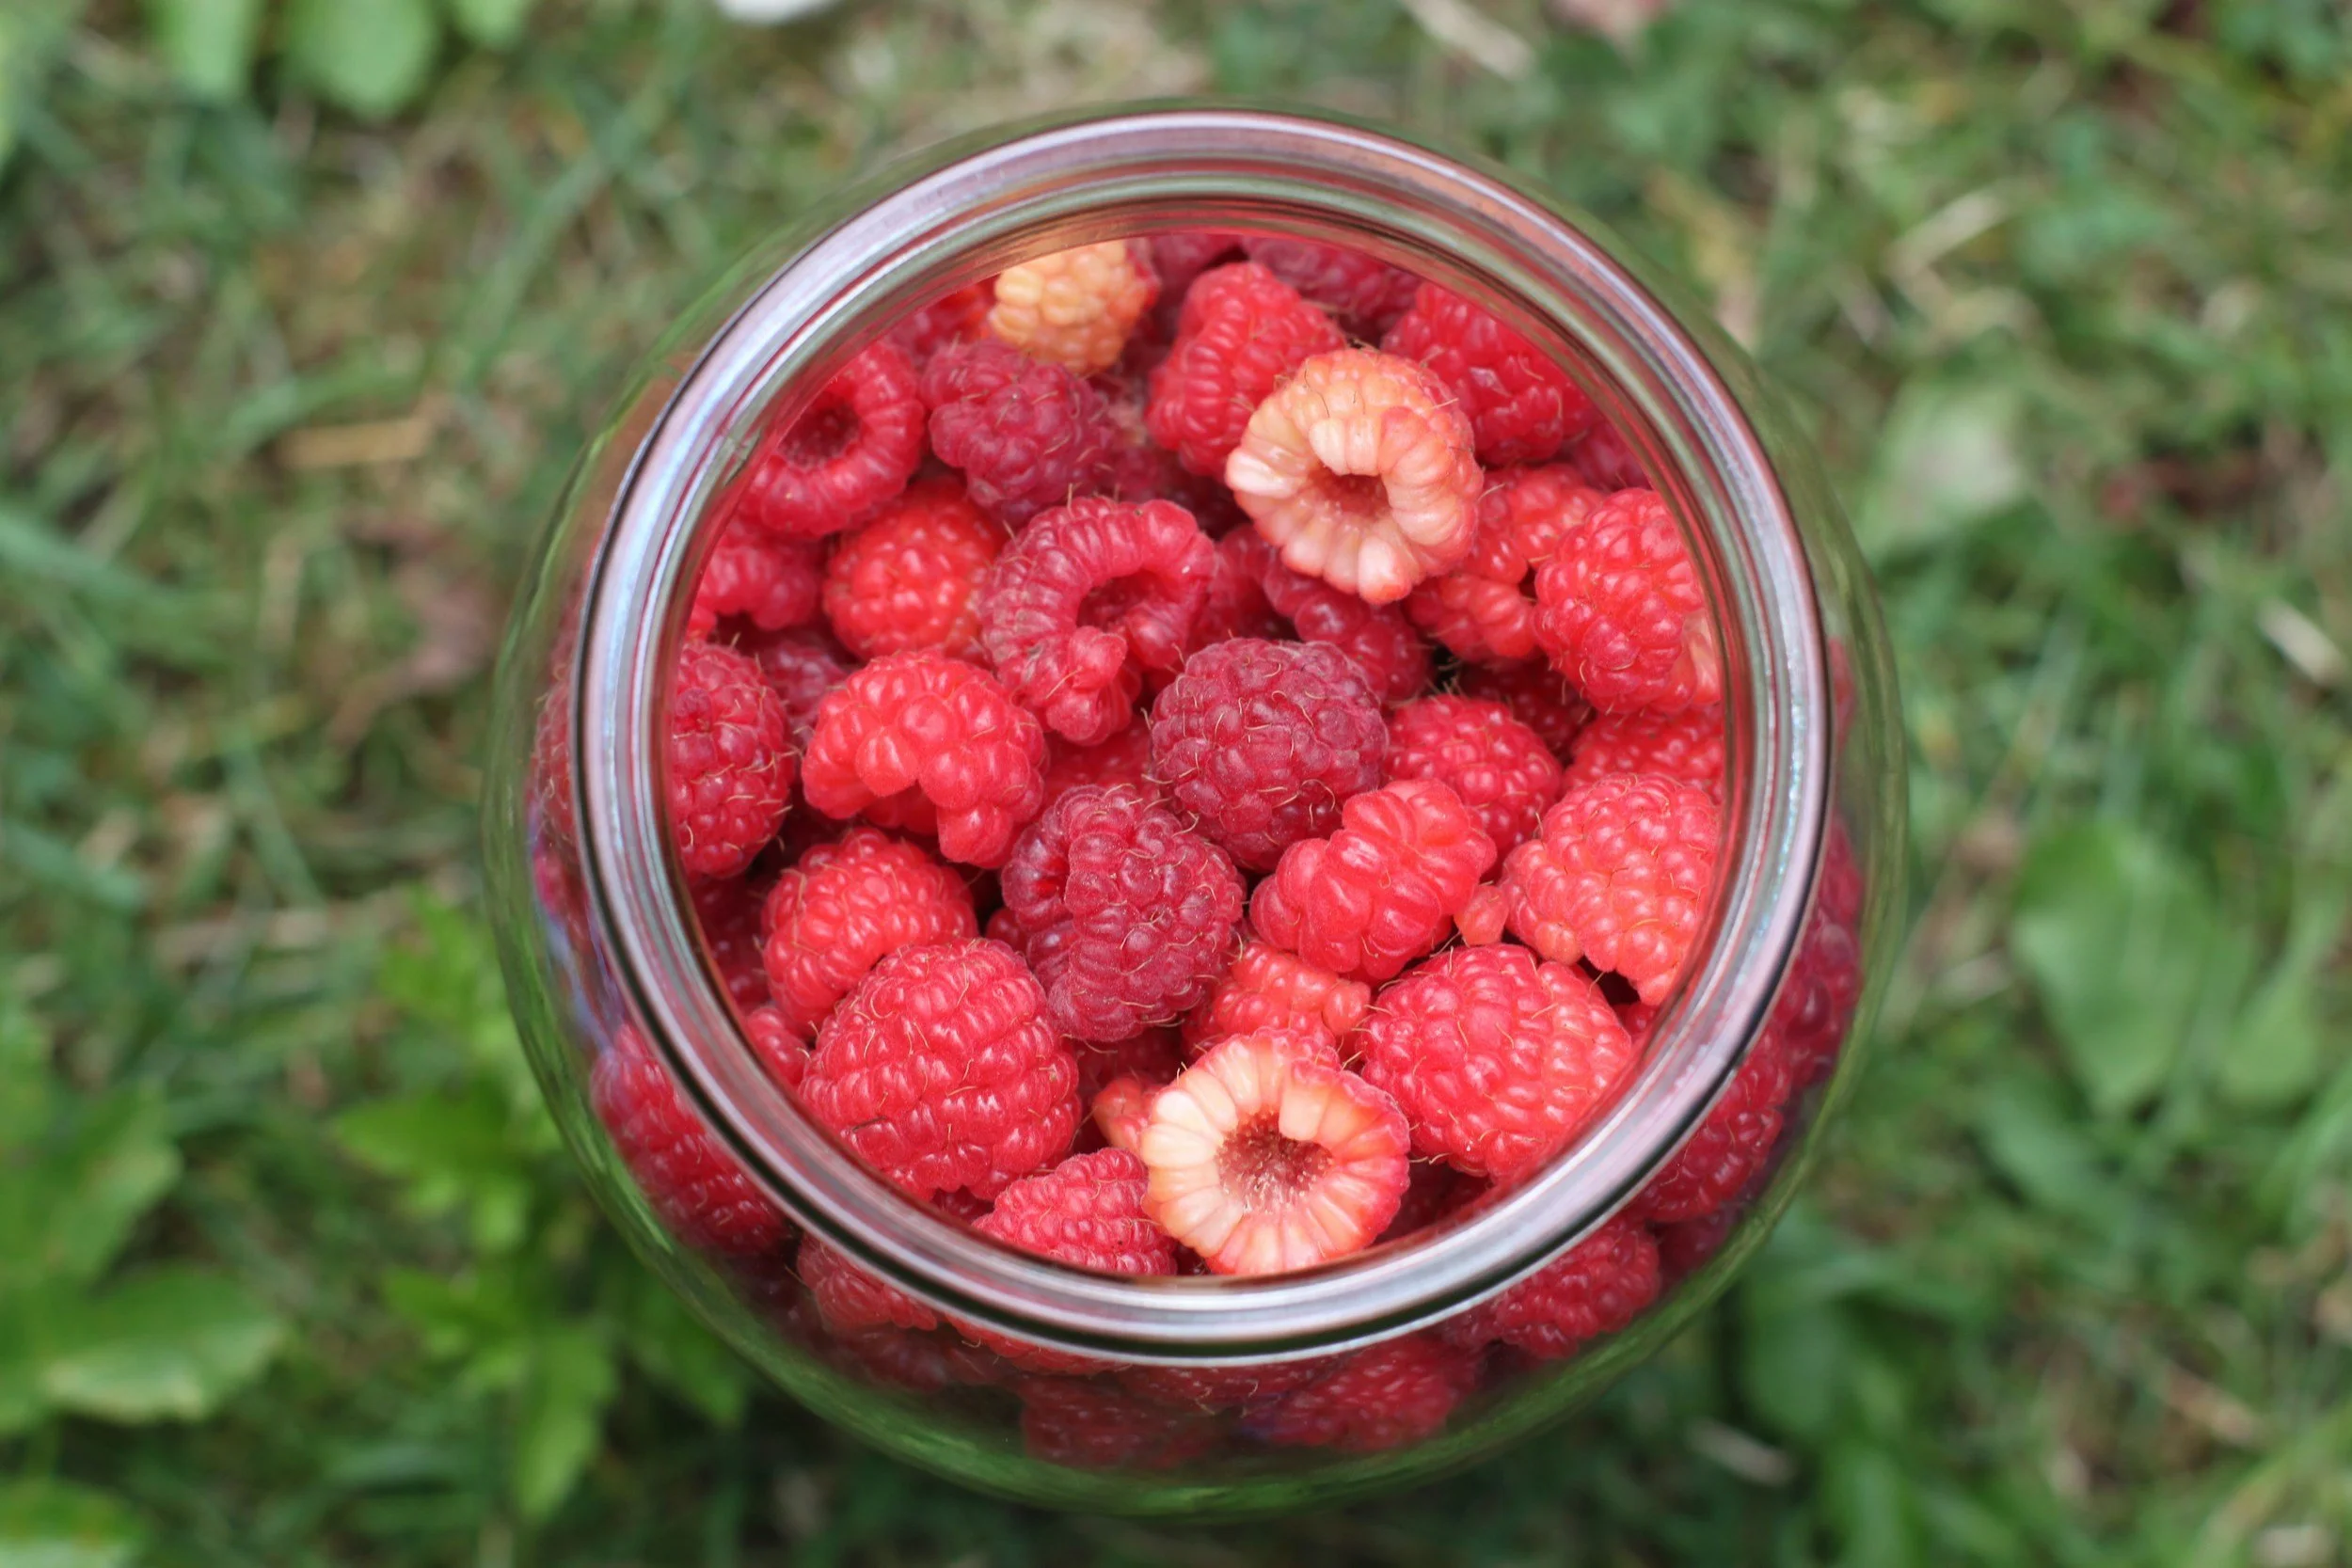
Jar of Berries
The simplest food to can is a jar of berries. Cranberries were just at the lowest prices for the year, and many have stocked up on them. If you don’t have berries, grab a bag of frozen ones from the local store or some fresh ones from your sources, and make sure they are room temperature.
Make sure your jar or jars are clean, and check the mouth for any chips or cracks. Clean the flat and ring as well. They don’t have to be dried, just room temperature.
If you have a funnel, use it to direct berries into your jar. If you don’t have a funnel, just wing it. Fill your jar to just below the bottom ring on the neck. This is about 1 inch of head space. Use a spoon or other object to push them in well to pack them, or shake them down. Add water, juice, sugar, or whatever else you desire, or leave dry for dry pack. This is YOUR jar! Use a damp cloth and wipe the mouth to remove any debris, set the flat on top and add the ring to fingertip tight. Do this however many times you need to fill the amount of jars you choose to do.
Now, prepare your pot of your choosing. Make sure to put your rack or towels in the bottom, and place your jars inside. Fill with cold or room temperature water to 2 inches above the jars. Turn the heat on and get the water to a hard rolling boil, and boil for 10 minutes. If using a lid, remove it after 10 minutes, turn off the heat, and let the jars sit for 5 minutes. Remove with the jar lifter and place on a towel covered table. Wait for the beautiful sound of pinging as the jars cool and the flats seal.
Do not push on the lids to check them, as this will create a false seal and your product won’t be safely sealed. You don’t want to go to all the work of processing just to have a false seal.
You have now processed your first jar. Congrats!!
There are many many great recipes that are simple to try and wonderful for beginning canners. You can’t go wrong with a fruit to start, and you can escalate from there into all kinds of different foods. I personally moved from fruit to chili and potatoes and meats quickly.
If you did this little exercise, I’d love to hear what you used and how you’re feeling! Join me in the comments to share!